-
Tile-EZ
Shower Pans – One Slope Integrated Trough Drain
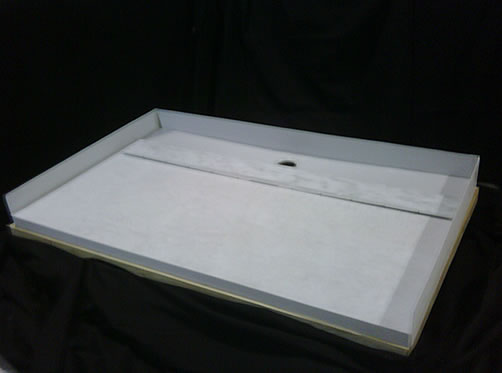
- Tile-EZ One-Slope Pan with Integrated Rear Trough Drain.
- Shown in picture is before tile with removable Tile-EZ
Drain Cover.
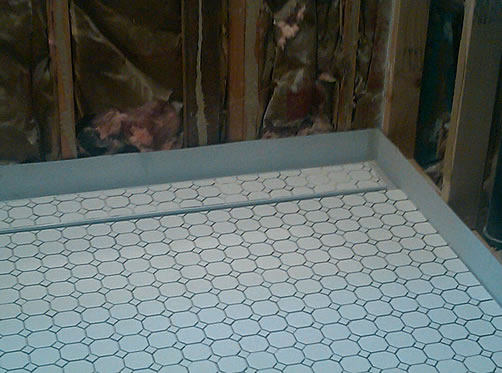
Picture 2
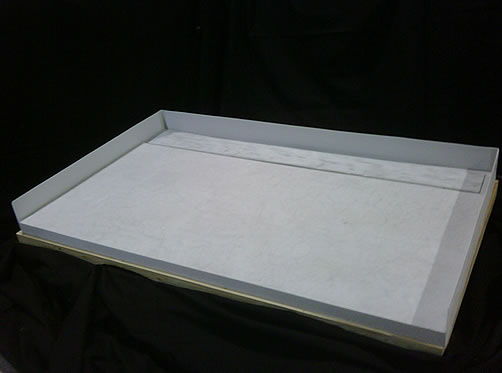
- Base prior to installation. Note pre-slope toward back
edge.
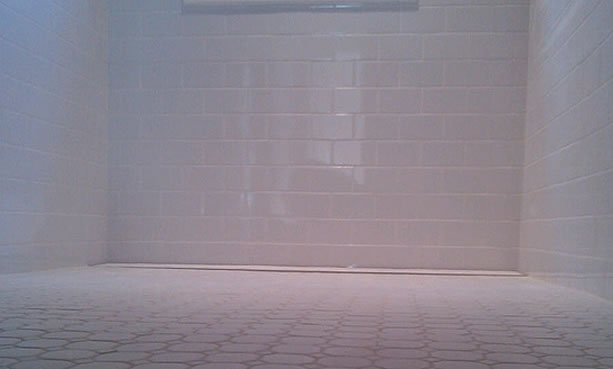
Tile-EZ One-Slope
-
design permits use of either large or small tile for a
continuous, seamless look ideal
- for
ADA and barrier free applications.
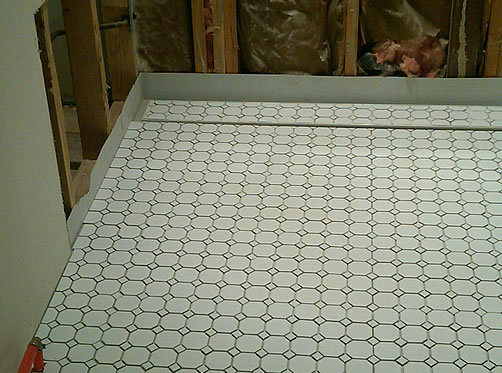
Picture 3

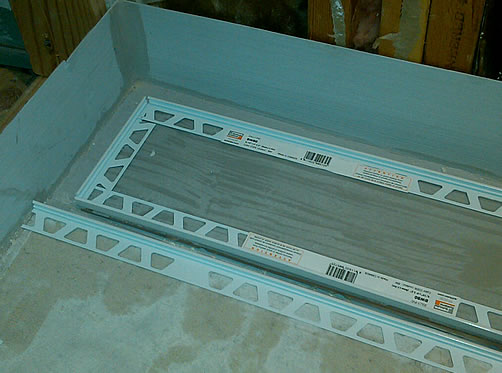
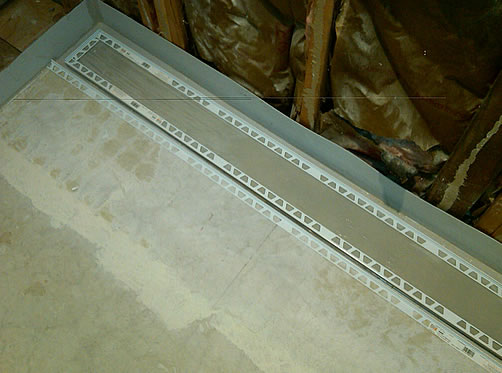
- The base was installed
directly on top of the floor joists and adjacent to the studs.
- The floor was raised with
cement board so that the front edge was flush with the
- shower base.
Picture 4
- Depending on the size tile or
stone, you can use an edge treatment available at any
- specialty tile shop or home center
to trim the tile at the trough area, the ½” opening
- between the removable cover
and the base. Shown in this application is a plastic
- edge treatment purchased to
eliminate the open grout lines for a clean edge finish
- and to complement the white
mosaic tile. The corners of the edge material were
- mitered to form a frame around
the perimeter of the Tile-EZ drain cover.
Picture 5
- When deciding to use an edge
treatment, insure the height of the edge treatment is
- not greater than the tile
being used in the application which would inadvertently
- minimize the flow of water to
the trough opening. Consider only trimming the drain
- cover that is most visible if
the height of the trim may exceed the tile.
Picture 6
Install
tile using supplied thin-set to Tile-EZ Shower Pan and Drain Cover.
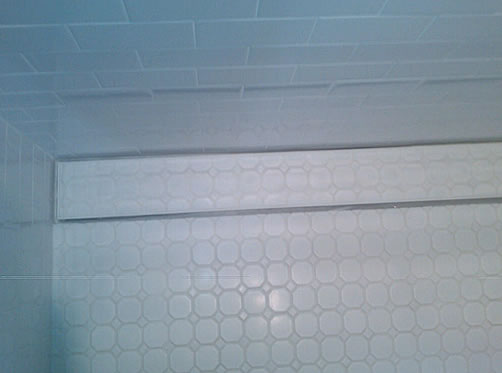
Picture 7
- A seamless, barrier free
transition after tile with a classic mosaic look applied to
- shower pan and adjacent
bathroom floor. Note that cement board is installed inside
- of flange on the shower walls
after installation of the tile to the shower pan for
- complete water tightness.
Picture 8
Wall tile
applied to shower walls and adjacent bathroom area.
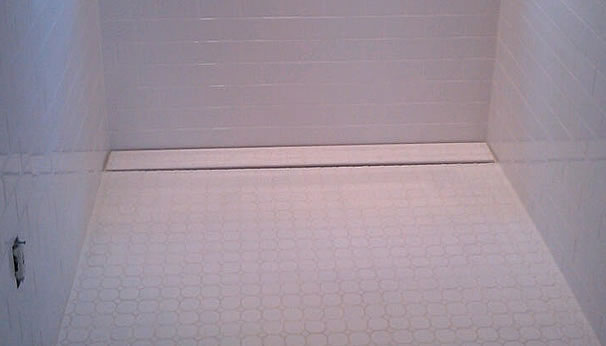
Picture 9
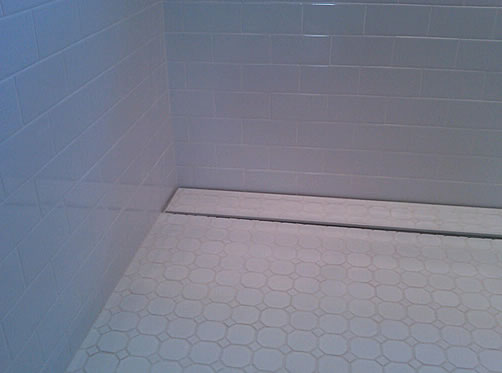
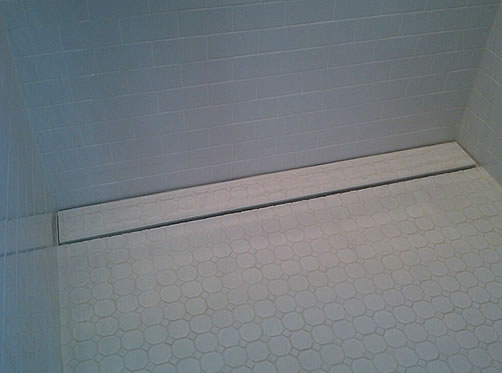
Shown is
the trough area of the finished Tile-EZ Pan after wall tile is applied.
Picture 10
Picture 11
Overhead view shows clean and square edges on all sides.
Picture 12
Picture 13
The finished project. The drain seam is hardly noticeable.